Instant Pot Quinoa - Toasted Method (InstantPot)
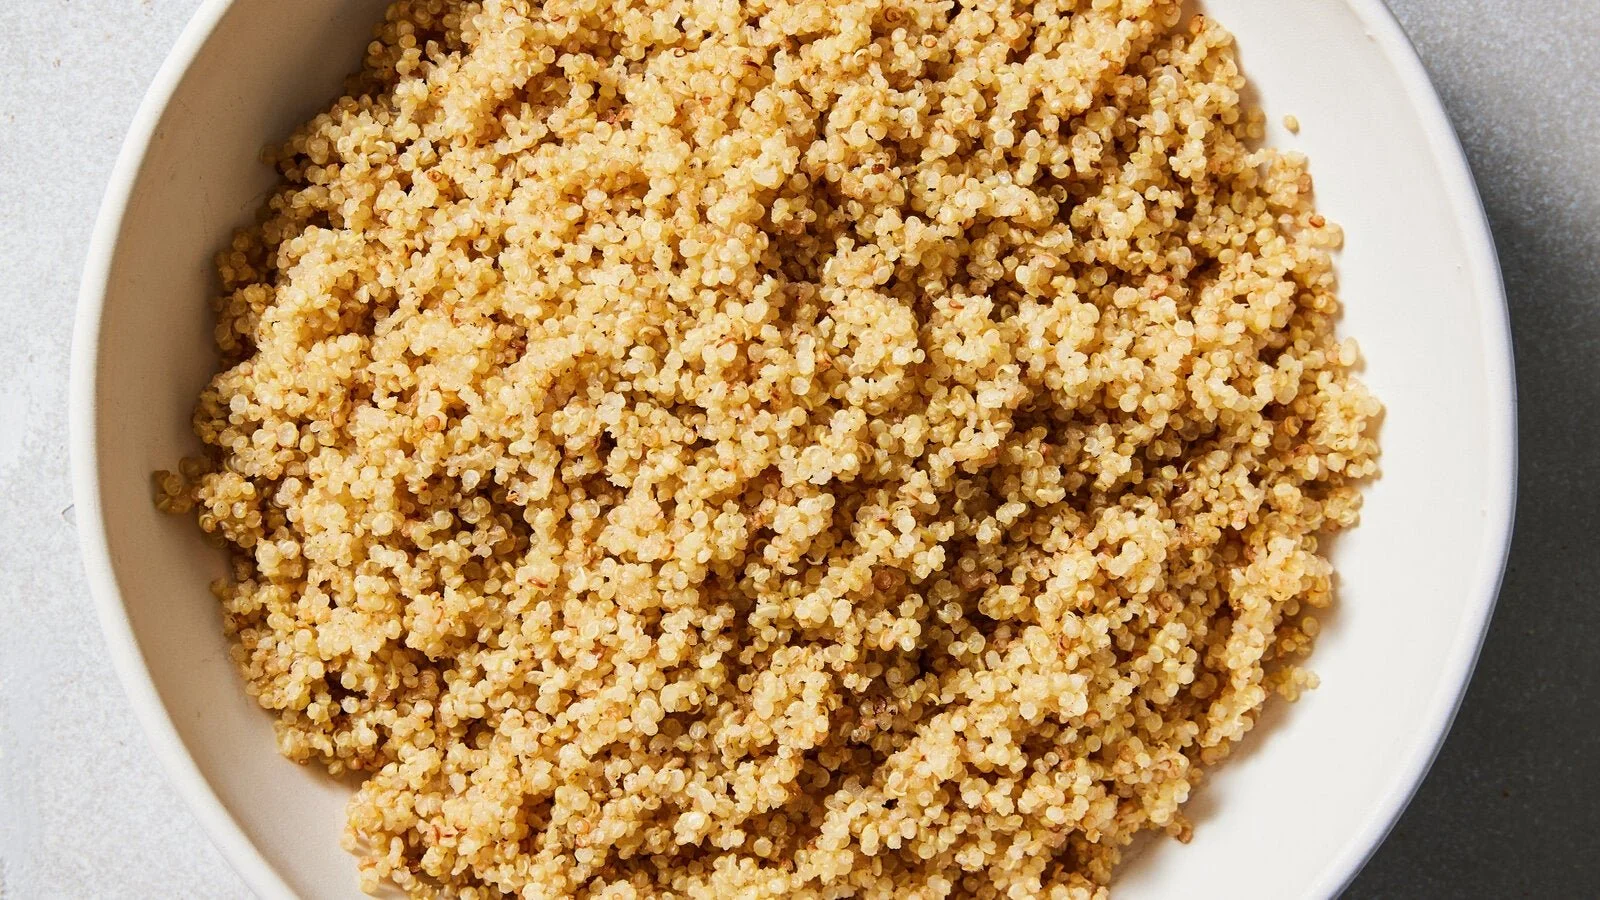
Quinoa shows how a simple whole-food ingredient can become much more flavorful through technique rather than excess salt, sugar, or heavy sauces. Rinsing, toasting, thoughtful seasoning, and finishing with herbs or acid are transferable skills that work with many other whole grains.
QUANTITY AND INGREDIENTS
1 cup quinoa
1 cup water or low-sodium vegetable broth
Pinch of salt
1 teaspoon olive oil, optional
**PREPARE YOUR MIS EN PLACE**
1. Read and reread the recipe. Divide tasks amongst team members.
2. Gather all the ingredients and necessary equipment.
PREPARING THE QUINOA
1. Rinse the quinoa in a fine-mesh strainer under cold running water for 30–60 seconds, rubbing the grains gently with your fingers. Drain very well.
2. Set the Instant Pot to SAUTÉ. Add the drained quinoa and toast for 2–3 minutes, stirring frequently, until it smells slightly nutty and excess moisture has evaporated. Add the olive oil if desired. Stop SAUTÉ setting.
3. Add 1 cup water or broth and a pinch of salt. Scrape the bottom to make sure nothing is sticking.
4. Seal and cook on HIGH PRESSURE for 1 minute.
5. Allow a 10-minute NATURAL RELEASE (not QUICK-RELEASE), then release any remaining pressure.
6. Fluff with a fork and let sit uncovered for a few minutes.
NUTRITION HIGHLIGHTS
1. Complete plant protein: Quinoa contains all nine essential amino acids.
2. High in fiber: Supports digestive health, satiety, and blood-glucose control.
3. Rich in minerals: Good source of magnesium, iron, manganese, phosphorus, and zinc.
4. Naturally gluten-free: A useful whole-grain alternative for people avoiding gluten.
5. Plant-forward staple: Works well as the base for bowls, salads, vegetable dishes, and protein-rich meals.
TECHNIQUES
1. Rinsing: Removes quinoa’s natural saponin coating, which can taste bitter or soapy.
2. Toasting: Briefly heating rinsed quinoa before cooking deepens its nutty flavor and develops aroma.
3. Pressure cooking: The Instant Pot cooks quinoa efficiently with little added liquid because very little moisture evaporates.
4. Natural release: Resting for 10 minutes after pressure cooking allows the grains to finish steaming and become light and fluffy.
5. Fluffing: Use a fork rather than stirring vigorously so the grains remain separate.
SKILLS
1. Properly rinsing and draining grains.
2. Toasting grains to build flavor.
3. Measuring grain-to-liquid ratios.
4. Using the Instant Pot safely.
5. Understanding natural versus quick pressure release.
6. Seasoning grains at the beginning and again after cooking.
7. Finishing with herbs, citrus, vegetables, nuts, seeds, or vinaigrettes.