Spelt Pita
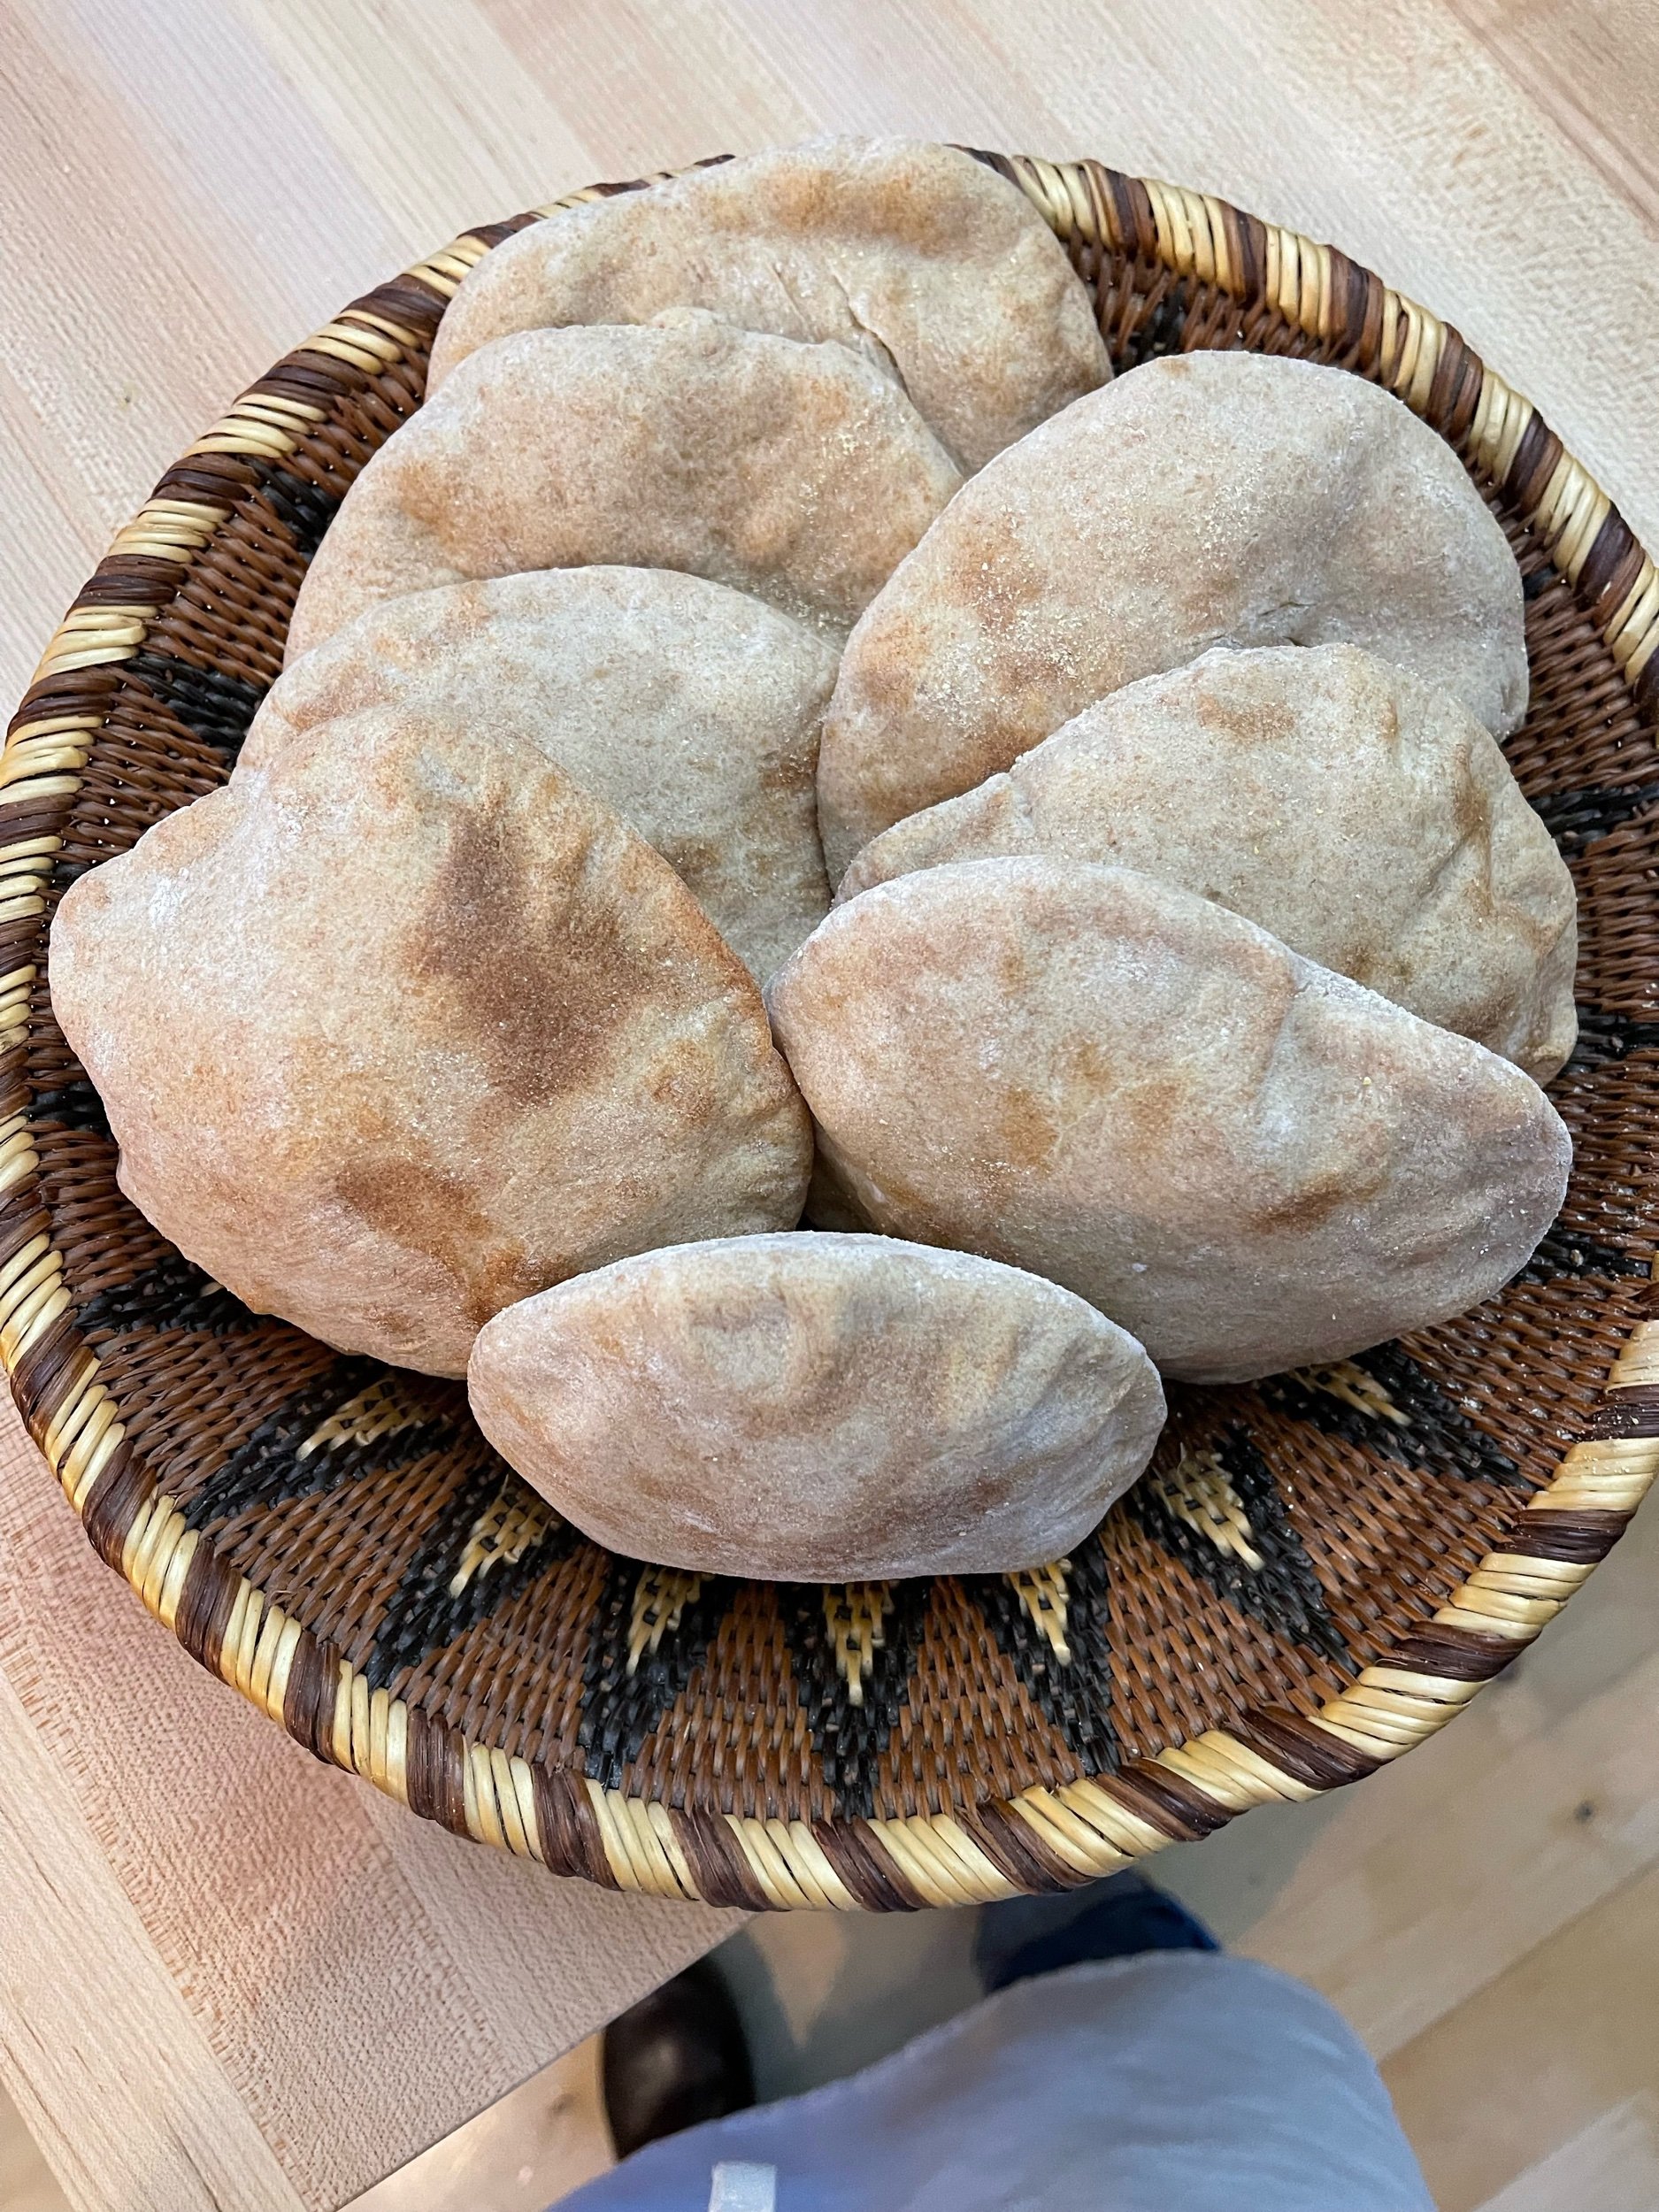
Spelt Pita
Baking your own bread is like opening a new world. For those who have not made bread, pita is a good introduction. Tweaked from kingarthurbaking.com, a great resource for all things baking. This recipe makes 8 pitas.
INGREDIENTS AND QUANTITY
2 cups (198 g) spelt flour
1 cup (227 g) lukewarm water
½ teaspoon instant yeast
1 cup (120 g) unbleached all-purpose flour
¾ teaspoon salt
1 tablespoon olive oil
Cornmeal or flour, for dusting
PREPARE YOUR MIS EN PLACE
1. Read and reread the recipe.
2. Gather all your ingredients and necessary equipment.
3. Multiple dishes may require the oven. The pitas will be baked off last.
PREPARING THE DOUGH AND BAKING PITA
1. Mix & Rest (Autolyse): In a medium bowl, combine the spelt flour, lukewarm water, and instant yeast. Stir until just combined. Alternatively, combine and mix in a Kitchen-Aid mixer. Cover and let rest for at least 10 minutes and up to 2 hours.
This rest allows the flour to hydrate and gluten to begin forming, making the dough easier to handle.
2. Knead the Dough: Add the all-purpose flour, salt, and olive oil to the rested dough. Mix, then turn out onto a lightly floured work surface. Knead gently by hand until the dough becomes smooth, supple, and elastic, about 5–7 minutes. Alternatively, kneed in Kitchen-Aid mixer. The dough will feel sticky at first but should smooth out—avoid adding excess flour.
3. Preheat the oven to 500°F. If using a baking stone, place it on the bottom rack.
If not, place an empty baking sheet on the bottom rack to preheat.
4. Transfer the dough to a lightly greased bowl, cover, and allow it to rise at room temperature for about 60 minutes. It will have spread somewhat, but will seem very relaxed as well; it’s not a high-riser.
5. Divide & Rest: Turn the dough out and divide into 8 equal pieces. Shape each piece into a ball. Cover and let rest for 15 minutes to relax the gluten.
6. Shape the Pitas: Working with two dough balls at a time: Lightly dust with flour or cornmeal. Roll into circles about 6 inches in diameter, keeping thickness even.
7. Transfer the pitas to the hot stone or baking sheet using a cornmeal-dusted peel or inverted sheet pan. Bake for 3–5 minutes, until the pitas puff fully and develop light golden spots.
8. Hold & Repeat: Remove pitas from the oven and wrap immediately in a clean kitchen towel to keep them soft. Repeat with remaining dough.
9. Storage. Cool completely before storing. Keep at room temperature in an airtight container for several days. Freeze well wrapped for up to 3 months.
CULINARY TIPS
1. Dough & Handling: Spelt flour is delicate: It has weaker gluten than wheat—knead gently to avoid tearing. Experiment with different flours. Stickiness is normal: Resist adding flour too early; hydration improves as you knead. Resting is essential: Both rests improve extensibility and puffing.
2. Oven & Baking Technique: High heat creates steam: The intense heat causes rapid steam expansion, forming the pita pocket. Bottom rack matters: Direct heat from below is key for proper puffing. Work in small batches: Baking only 1–2 pitas at a time keeps oven temperature stable.
3. Common Mistakes to Avoid: Rolling unevenly → poor puffing; Over-flouring → dry, dense pitas; Oven not hot enough → flat bread; leaving pitas uncovered after baking → dry texture
4. Teaching Kitchen Extensions: Flavor variations: Add za’atar, sesame seeds, or olive oil brushing post-bake. Service ideas: Use for wraps, dips, or cut into wedges and toast.